
A Comprehensive Guide to Blind Installation

In Wenatchee, where bright summers and chilly winters are part of everyday life, the right blinds do more than add style to your home. They help regulate indoor temperature, improve privacy, and create a clean, finished look while boosting the overall look and functionality of a room.
According to a 2024 Better Homes & Gardens report, more homeowners are choosing cordless, streamlined window treatments because they make homes feel safer, calmer, and more organized. Many homeowners now see blinds as an effective way to make daily life more comfortable and convenient, not just more stylish.
However, even the highest-quality blind installation can underperform if fitted incorrectly. While DIY blind installation can save you money upfront, issues like uneven brackets, poor measurements, or damaged window frames typically result in costly rework.
This guide explains how to install blinds in Wenatchee correctly, what to watch out for, and when it’s worth calling a professional for expert installation and best results.
The Basics of Blind Installation
A good installation starts with the basics: accurate measurements, secure mounting, and attention to detail. Getting these steps right makes sure your blinds look good, work perfectly, and last longer.
Here are a few important things to keep in mind:
What Makes a Blind Installation Successful
Every home has windows with different dimensions, trim depths, and wall materials, all of which are responsible for how blinds fit and function. When done correctly, the blinds sit flush with the frame, operate smoothly, and line up evenly over the window.
In short, accurate measurements and good mounting are what give your blind installation that clean, professional finish.
How Small Mistakes Create Big Problems
Even small mistakes can cause big problems. For example, if a bracket is off by just half an inch, blinds can hang crooked, let in unwanted light, or fail to close properly. Drilling in the wrong spot or skipping level checks can also weaken support over time.
Taking a few extra minutes to measure and adjust everything carefully helps your blinds perform better and last longer.
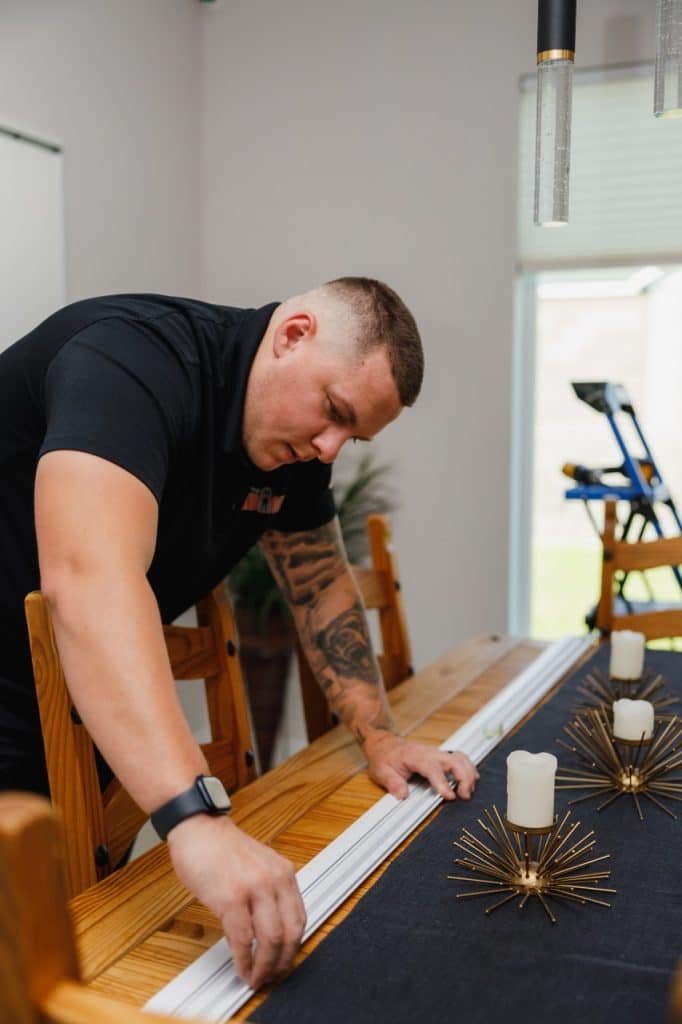
DIY Blind Installation Tips
Homeowners with basic tools and some experience can take on standard blind installations successfully.
Here are some tips to help you get it right:
Measure Your Windows Carefully
Accurate measurement is the most important step in blind installation. Even a small error can cause poor alignment or gaps.
- Inside mount: Measure the inside width and height of the window frame at the top, middle, and bottom. Record the smallest width and height for accuracy.
- Outside mount: Measure the width and height of the area you want to cover, extending a few inches beyond the window frame for full light control.
Always double-check measurements before ordering. A difference of even a quarter inch can impact the fit and performance of your blinds.
Choose the Right Hardware
Each blind type comes with specific brackets, screws, and mounts. Select hardware that matches both the blind style and your wall surface. Drywall typically requires anchors, while wood frames can hold screws directly. Using the correct hardware prevents loose fittings and structural damage.
Gather Proper Tools
Having the right tools ready speeds up blind installation and improves accuracy. When everything you need is within reach, the process becomes easier, and you’re less likely to rush or skip important steps.
The tools you’ll typically need:
- Cordless drill or screwdriver: Used to secure brackets and hardware firmly to the wall or frame. A drill speeds up the process and helps you create stronger, cleaner holes.
- Level: Makes sure brackets are horizontally aligned, preventing tilting or uneven operation.
- Tape measure: Needed to confirm window dimensions and bracket spacing. Accurate measuring prevents gaps and misalignment.
- Pencil for marking: Can be used to mark drill points and alignment spots clearly without damaging walls.
- Step ladder: Gives you safe access to higher windows and helps maintain control while drilling or mounting.
- Stud finder (for heavier or motorized blinds): Helps locate wall studs for secure mounting. Important for heavier or automated blinds to prevent brackets from loosening after some time.
Having these tools on hand before you begin can help prevent mistakes and save time during blind installation
Mark and Mount Precisely
Start by marking where the brackets will go, using a level to keep them perfectly even. Uneven brackets can cause blinds to tilt or hang at an angle. Double-check your measurements before drilling to make sure everything lines up.
When securing the brackets, tighten the screws firmly, but don’t overtighten; this can crack the frame or strip the hardware.
Test Before Finishing
Once the headrail and slats are in place, test the blinds before tightening everything down. Make sure they raise, lower, and tilt smoothly.
If something feels off, adjust the brackets or alignment as needed. Testing early helps you catch small issues and guarantees that the finished blinds look straight and work properly.
When DIY Makes Sense
DIY blind installation works well for homeowners who are comfortable with basic tools and enjoy hands-on projects. In the right situation, it can deliver good results without the need for professional help.
Standard-Sized Windows
Most ready-made blinds are designed for standard window sizes, which makes installation much easier. As long as your measurements are accurate and you follow the instructions closely, you can get a clean, solid fit on your own.
Simple Blind Styles
Basic styles like roller shades, mini-blinds, or vinyl blinds are ideal for DIY projects. They use simple brackets and don’t require special wiring or adjustments, making them easy to install.
Lightweight Materials
Blinds made from lightweight materials place less stress on mounting brackets and wall anchors. This lowers the risk of hardware failure or alignment issues, making them more manageable for a DIY installation.
Budget Considerations
Installing blinds yourself can help you save on labor costs, especially for smaller projects like a single room or a few windows. If you’re comfortable spending a bit of time on the work, it can be a cost-effective option that still gives good results.
DIY blind installation in Wenatchee is best for simple setups and standard window types. For anything more complex, calling a professional can save time and prevent costly mistakes.
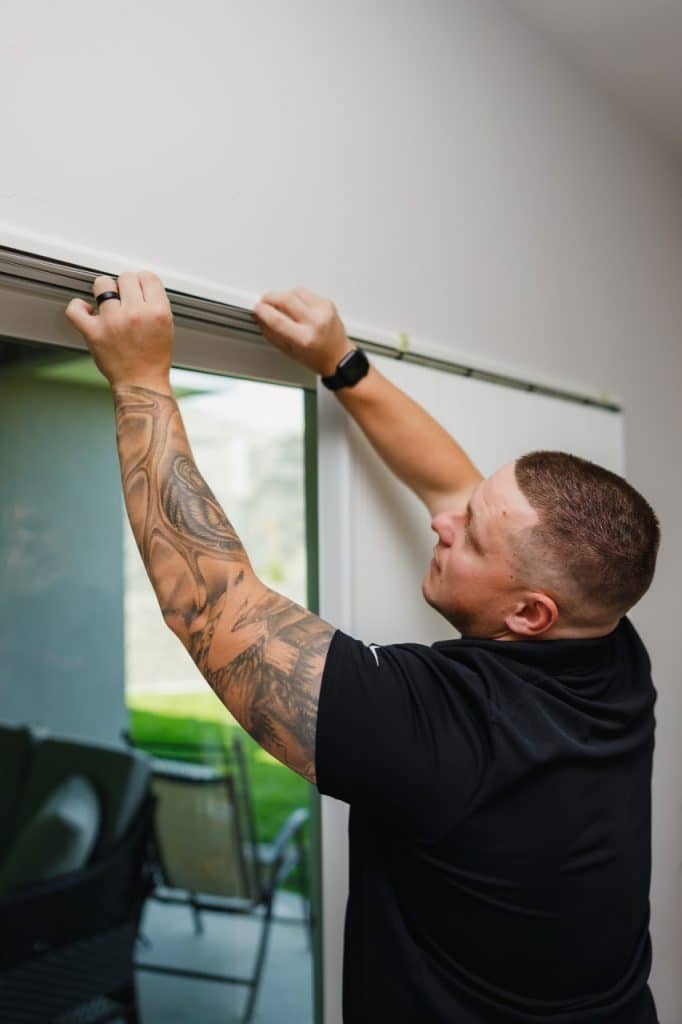
Challenges of DIY Blind Installation
Many homeowners who attempt DIY blind installation later call in professionals to correct alignment or bracket issues. Small mistakes during setup can result in uneven blinds, loose brackets, or light gaps that are hard to fix without starting over.
Here are some of the most common problems homeowners run into:
Incorrect Measurements
If inside-mounted blinds are even slightly too wide, they can jam or stick. Outside mounts that are too narrow may leave light gaps around the edges. Because custom blinds are made to specific dimensions, errors typically mean reordering new ones.
Misaligned Brackets
If the brackets aren’t level, blinds can hang crooked or tilt unevenly. The problem becomes even more noticeable when you’re installing several blinds next to each other. Using a level and marking carefully before drilling helps prevent uneven alignment.
Wall Damage
Drilling into drywall or trim without the right anchors can result in cracks, stripped holes, or loose mounts. Fixing these issues takes more time and money than hiring a professional from the start.
Time Commitment and Frustration
Installing blinds takes patience and precision. What looks like a quick project can easily turn into a few hours of measuring, drilling, and adjusting. Small mistakes mean starting over, which can be frustrating and time-consuming.
Warranty and Safety Risks
Many manufacturers require professional installation to keep their warranties valid, mainly for motorized or high-end blinds. Improper mounting can also create safety risks; loose brackets or cords can be dangerous, particularly in homes with kids or pets.
DIY installation is possible, but it requires time and experience. For desired results, professional blind installation is typically the better choice.
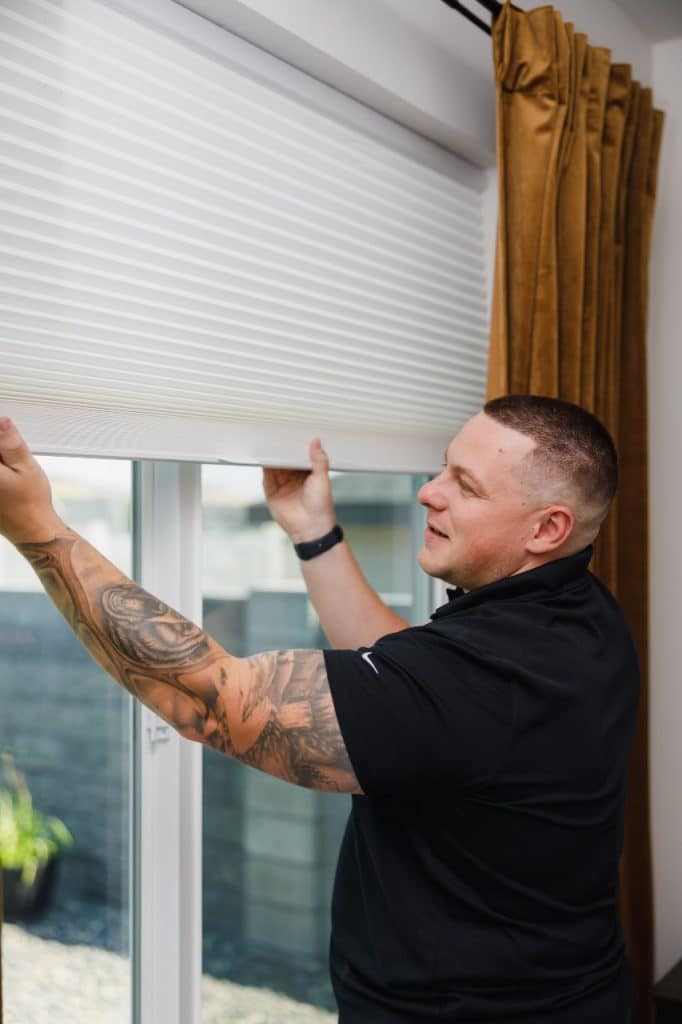
Benefits of Hiring a Professional
Professional blind installation offers peace of mind, precision, and guaranteed results, particularly for homeowners who value their time and want the best possible fit.
Here’s why hiring a professional is worth it:
Expert Measuring and Fitting
Professional installers take exact measurements, considering details like trim, frame depth, and window shape. This helps prevent gaps, crooked blinds, and uneven movement, giving every window a clean, balanced look.
Time Savings
A skilled installer can complete the job much faster than a typical DIY project. They take care of everything, from setup and drilling to alignment and cleanup, so you can enjoy your new blinds without any issues.
Access to Custom Solutions
Professionals can install blinds on challenging window types, such as bay, arched, or unusually shaped windows. They also handle complex systems like motorized or automated blinds with ease.
Guaranteed Results and Warranties
Most professional installations include a service guarantee and preserve your product warranty. If something doesn’t fit or function as it should, the installer will correct it at no extra cost.
Long-Term Value
Professional blind installation helps them last longer and protects your walls and window frames from damage. When blinds are installed correctly, they operate better and require less maintenance down the line.
Cost Considerations: DIY vs. Professional Blind Installation
Understanding the real cost of installing blinds helps you decide which option gives you the best value. Here’s how the two stack up against each other:
DIY Costs
- Tools (if not already owned): Around $50–$100 for basics like a drill, level, and step ladder.
- Hardware and mounting supplies: About $20–$50, depending on the window size and wall type.
- Time investment: Expect to spend roughly 2–3 hours per window for measuring, drilling, and adjustments.
- Risk of errors or replacements: Mistakes can cause damaged blinds or the need to reorder, adding extra costs.
All in all, DIY blind installation in Wenatchee can seem more affordable at first, but once you factor in the time, tools, and potential errors, the savings start to shrink.
Professional Costs
- Service fee: Typically, $100–$250 per window, which covers labor, setup, and correct alignment.
- Tools and materials: All provided by the installer, so there’s no need to buy or prepare equipment.
- Warranty and guaranteed fit: Professional installation keeps your product warranty intact and includes corrections if anything isn’t right.
The bottom line is that professional blind installation costs more upfront, but it gives you accuracy, protects your blinds and walls, and saves money in the long run by preventing costly mistakes.
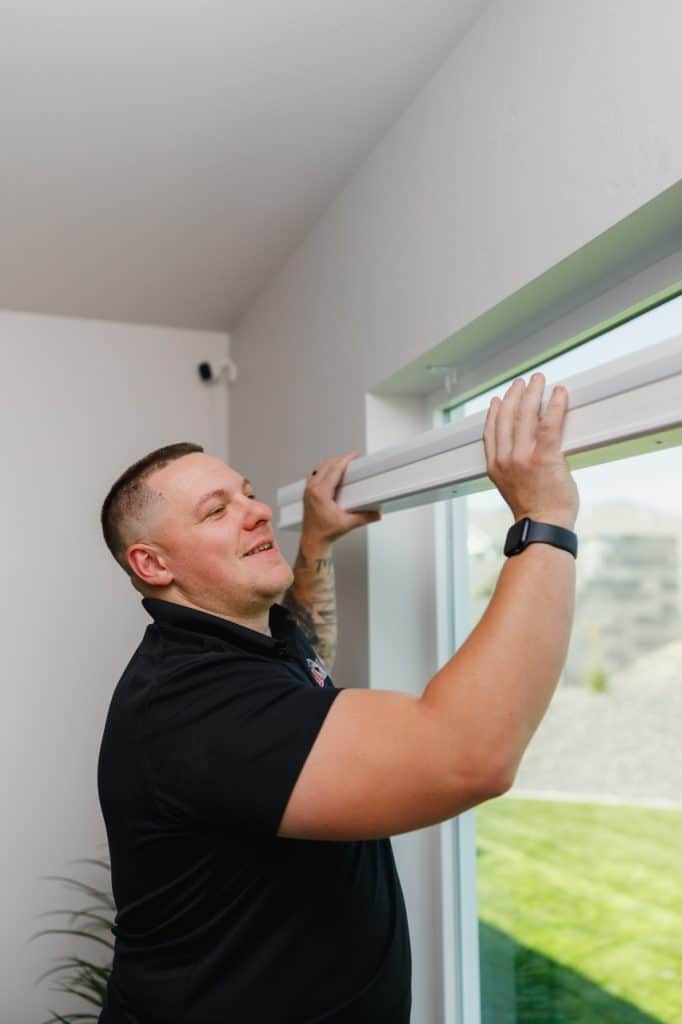
How Blind Guy of Wenatchee Helps
At The Blind Guy of Tri-Cities, our blind installation is backed by years of hands-on experience and local expertise. Our team understands the unique window styles found in Wenatchee homes, whether it’s a historic craftsman or a modern new build, and delivers precise, dependable results every time.
For your convenience, you can easily get support or schedule an appointment with just a click on our website. We encourage you to sign up for our email list to receive exclusive offers and updates.
Here’s what sets us apart:
Precision Measurements
Every installation starts with accurate measurements. We take the time to measure each window carefully, accounting for trim, frame depth, and surface materials. This guarantees a perfect fit with no gaps, crooked lines, or unwanted light leaks.
Expert Installation
Our installers are trained to work with all types of blinds, including specialty designs, layered window treatments, and motorized systems. We use the right tools and techniques to make sure each installation is safe, level, and built to last.
Custom Solutions
We personalize our recommendations to your space, whether you want energy-efficient blinds to beat Wenatchee’s summer heat or privacy-focused designs for street-facing windows. Each solution is customized to match your style and comfort.
Professional Service
We’re known for our clean, efficient work and clear communication. Our team treats your home with care, finishes on time, and follows up to make sure you’re fully satisfied with the results.
Whether you’re updating one room or your complete home, The Blind Guy of Tri-Cities delivers blinds that look great, work perfectly, and are installed with accuracy and care.
Upgrade Your Windows with Professionally Installed Blinds
For simple windows and basic blind styles, a DIY approach can work well. However, for larger projects, unique window shapes, or motorized systems, professional blind installation makes more sense. They also save you from common issues like light gaps, uneven brackets, or accidental damage.
For homeowners in Wenatchee who want lasting quality and peace of mind, professional blind installation is certainly the most dependable option.Call The Blind Guy of Tri-Cities today at (509) 980-1402 to schedule your consultation and get an expert installation that looks great and works perfectly. You can also get a free quote painlessly online. Request yours today!